Antibunching Analysis
Summary
This tutorial shows step-by-step, how to calculate an antibunching curve from a fluorescence time trace of a single emitter, in this example a nanodiamond NV center, excited with a pulsed 530 nm laser.
Background Information
Note: For calculating an antibunching curve, a fluorescence time trace has to be recorded.
To separate the fluorescence, the emission light has to be split onto two detectors with very high quantum yield (e.g. SPAD detectors) by using e.g. a 50% beamsplitter.
As antibunching is a method to determine the number of simultaneously emitting molecules, a dead time free setup has to be employed for that time range. The SymPhoTime 64 script analyses data recorded in T2 mode, which can be acquired using the TCSPC units PicoHarp 300, HydraHarp 400 and TimeHarp 260 PICO dual channel board, respectively.
The data used in this tutorial are measurements of NV centers which are stable single photon sources excitable at 530 nm. The script is used to process one file with only a single NV center in the focus of the instrument. The other two files demonstrate changes of the antibunching curve when several NV centers are simultaneously in the focus.
Antibunching measurements can be performed on single stationary molecules or at very low concentrations in solutions. Pulsed or cw excitation may be used, but usually the measurement time with cw light is significantly larger. Therefore, to measure immobilized samples usually pulsed excitation is used.
Step-by-Step Tutorial
- Start SymPhoTime 64 software.
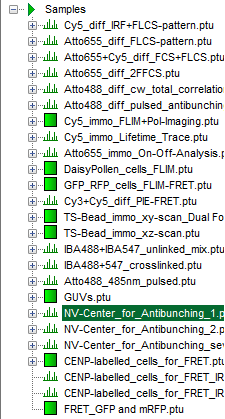
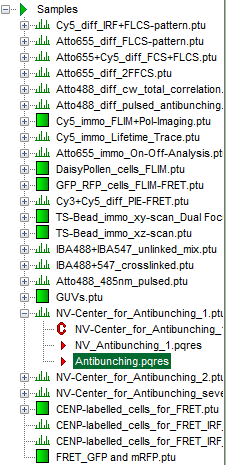
- Open the “Samples” workspace via “File\open Workspace” from the main menu.
Note: The “Samples” workspace is delivered with the SymPhoTime 64 and on the CD-ROM and contains example data to show the function of the SymPhoTime data analysis. If you haven't installed it on your computer, copy it from the DVD onto a local drive before going through this tutorial.
Response: The files of the sample workspace are displayed in the workspace panel on the left side of the main window.
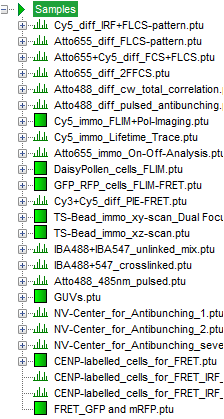
- Highlight the file
NV-Center_for_Antibunching_1.ptuby a single mouse click.
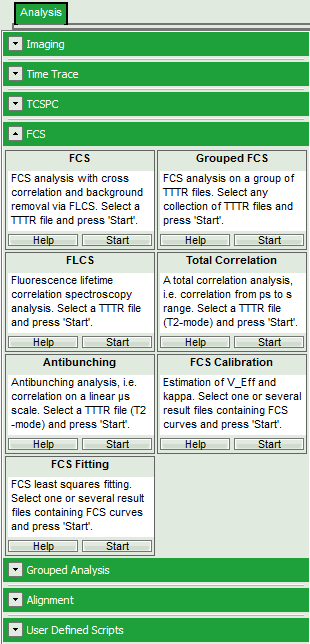
- Select the “Analysis” tab and in there, open the drop down menu “FCS”.
Note: The drop down menu can be opened and closed by clicking on the grey button on the left side of the header of the drop down menu: 
- Start the Antibunching script by clicking on “Start”.
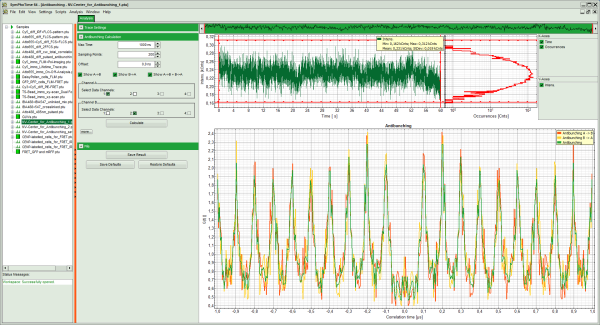
Response: The Antibunching script is applied to the file NV-Center_for_Antibunching_1.ptu. Thereby, a new Window opens:
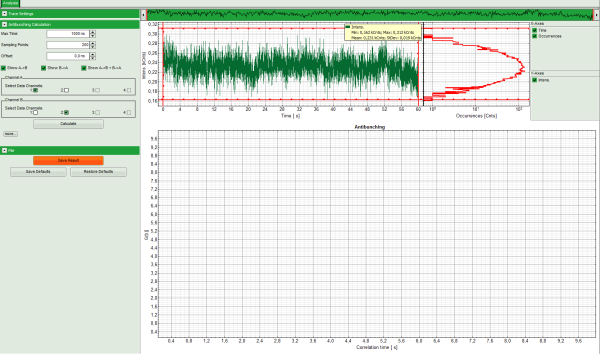
Note: The window contains three different regions:
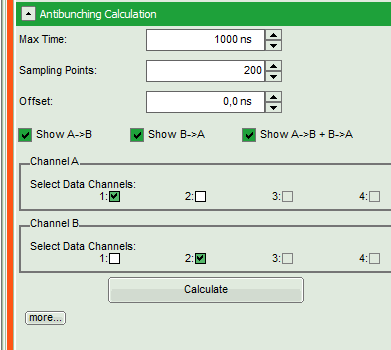
- Left: Analysis and display options. For explanation of the different parameters, place the mouse cursor over this part of the window and press <F1> to open the corresponding help page.
- Upper center/right: Intensity time trace. The display can be changed using the “Trace Settings” of the analysis options. The large window shows the inset of the complete trace above marked in green. The photon counting histogram on the right displays the frequencies of the different intensity values.
- Lower center/right: Antibunching graph. As first the calculation criteria have to be defined and the curve needs to be calculated, this graph does not contain any trace at this stage.
- Click “Calculate” to calculate the antibunching curve with the default settings.
Response: The antibunching curve is calculated.
Note: The different peaks show the fluorescence of the second detector after each laser pulse, the spacing between the peaks is determined by the repetition rate of the laser.
As expected for a single emitter, the peak at time 0 is practically missing. This corresponds to the fact that if just a single photon is emitted, it cannot be registered by both detectors simultaneously.
Three curves are calculated, as for the calculation of the photon pairs, detector 1 or 2 can be used as reference. The green curve is the average of both curves.
Note: If the cable lengths are different for both detectors, photons simultaneously registered at the detectors arrive a different times at the photon counting TCSPC unit. Consequently, a systematic shift of the red and the yellow curve is observed. For compensation adjust the “Offset” parameter. It automatically moves the red and yellow curve to the correct position. Press “Calculate” again to recalculate the correct antibunching curve.
- Save the calculated curve by clicking on “Save Result”.
Response: A result file is generated and linked to the raw data file.
Process files with several emitters
- For illustration of the behavior if the luminescence stems from several emitters, process the files
NV-Center_for_Antibunching_2.ptuand “NV-Center_for_Antibunching.ptu” in a similar fashion. - The final result of the file
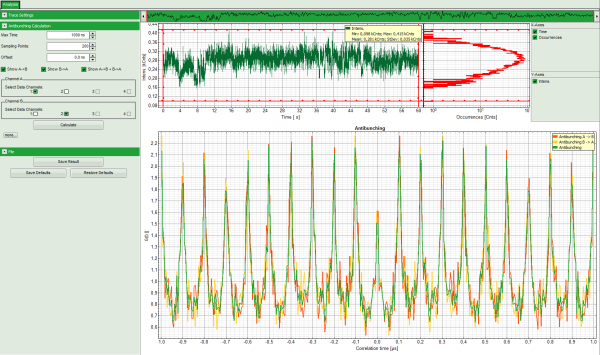
NV-Center_for_Antibunching_2.ptushould be as shown below:
- Here the center peak is present, but has only roughly half of the size of the other peaks, corresponding to two emitters in the confocal volume.
- For the file
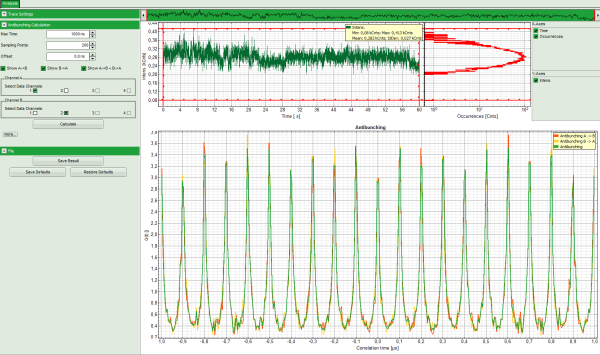
NV-Center_for_Antibunching_several.ptuthe final result should be the following:
- Here it is impossible to determine the number of emitters. In this measurement the luminescence stems from several emitters.
