FLIM-FRET Calculation for Single Exponential Donors
Summary
This tutorial shows step-by-step, how the “Lifetime FRET Image” analysis of SymPhoTime 64 can be used to calculate pixel-by-pixel the FRET efficiency in an image containing a cell transfected with a GFP and a RFP construct, that bind in certain regions of the cytoplasm. A bi-exponential fit is performed in a larger region of interest to determine the donor only lifetime and the lifetime of the donor in presence of FRET. A pixel-by-pixel fit is performed in the image and in every pixel the FRET efficiency as well as the fraction of FRET on the total decay (“Binding”) is determined.
Background information
FLIM-FRET is a robust method to determine the FRET efficiency of a suited donor acceptor pair.
If the FRET donor molecule has a single exponential decay kinetic, not only the FRET efficiency can be determined in every pixel of the image, but also the fraction of the FRET amplitude on the total decay, which is an indicator of the percentage of molecules undergoing FRET.
Several fluorescent proteins with a single exponential decay behavior have been reported, e.g. mTurquoise, mTurquoise 2, mTFP1, T-Sapphire, Citrin (pH-dependent), YFP, and TagRFP (see the Technical note: Fluorescence Lifetime Imaging (FLIM) in Confocal Microscopy Applications: An Overview, available from PicoQuant).
The example image shows a cell transfected with GFP-N-WASP and mRFP-TOCA-1, proteins involved in filopodia and vesicle formation 1).
Step-by-Step Tutorial
Note: This Step-by-Step tutorial was written for SymPhoTime version 2.5. There might be slight differences compared to other software versions. For example the way of setting an intensity threshold has changed. In the video the former version is shown.
Determine the donor only lifetime using the “Lifetime FRET Image” analysis.
- Start SymPhoTime 64.
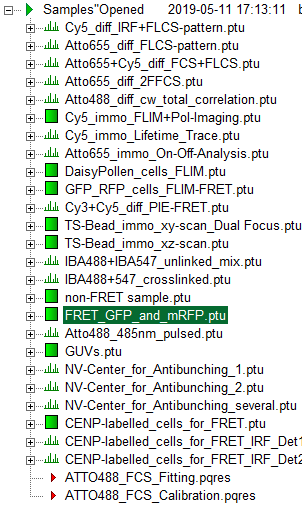
- Open the “Samples” workspace via “File\open Workspace” from the main menu.
Note: The “Samples” workspace is delivered with the SymPhoTime 64 and on the DVD-ROM and contains example data to show the function of the SymPhoTime 64 data analysis. If you haven't installed it on your computer, copy it from the DVD onto a local drive before going through this tutorial.
Response: The files of the sample workspace are displayed in the workspace panel on the left side of the main window.
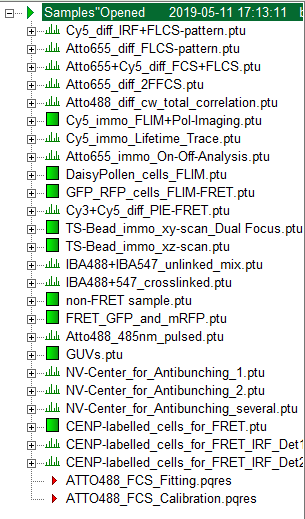
- Highlight the file
FRET_GFP and mRFP.ptuby a single mouse click.
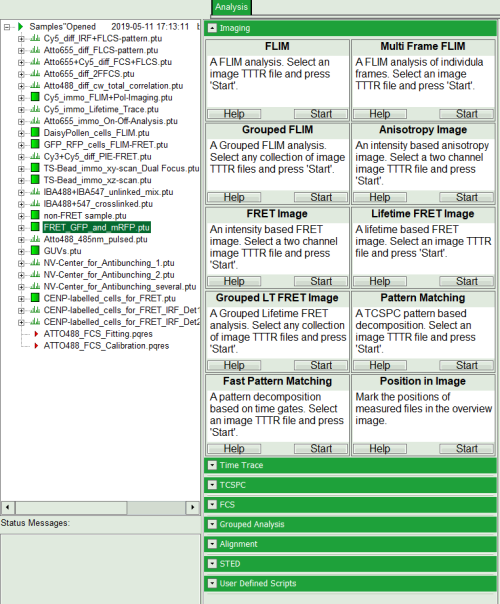
- Select the “Analysis” tab and in there, open the drop down menu “Imaging”.
Note: The drop down menu can be opened and closed by clicking on the grey button on the left side of the header of the drop down menu 
- Start the “Lifetime FRET Image” analysis by clicking on “Start”.
Response: The “Lifetime FRET Image” analysis is applied to the file FRET_GFP.ptu and mRFP.ptu. Thereby, a new Window opens:
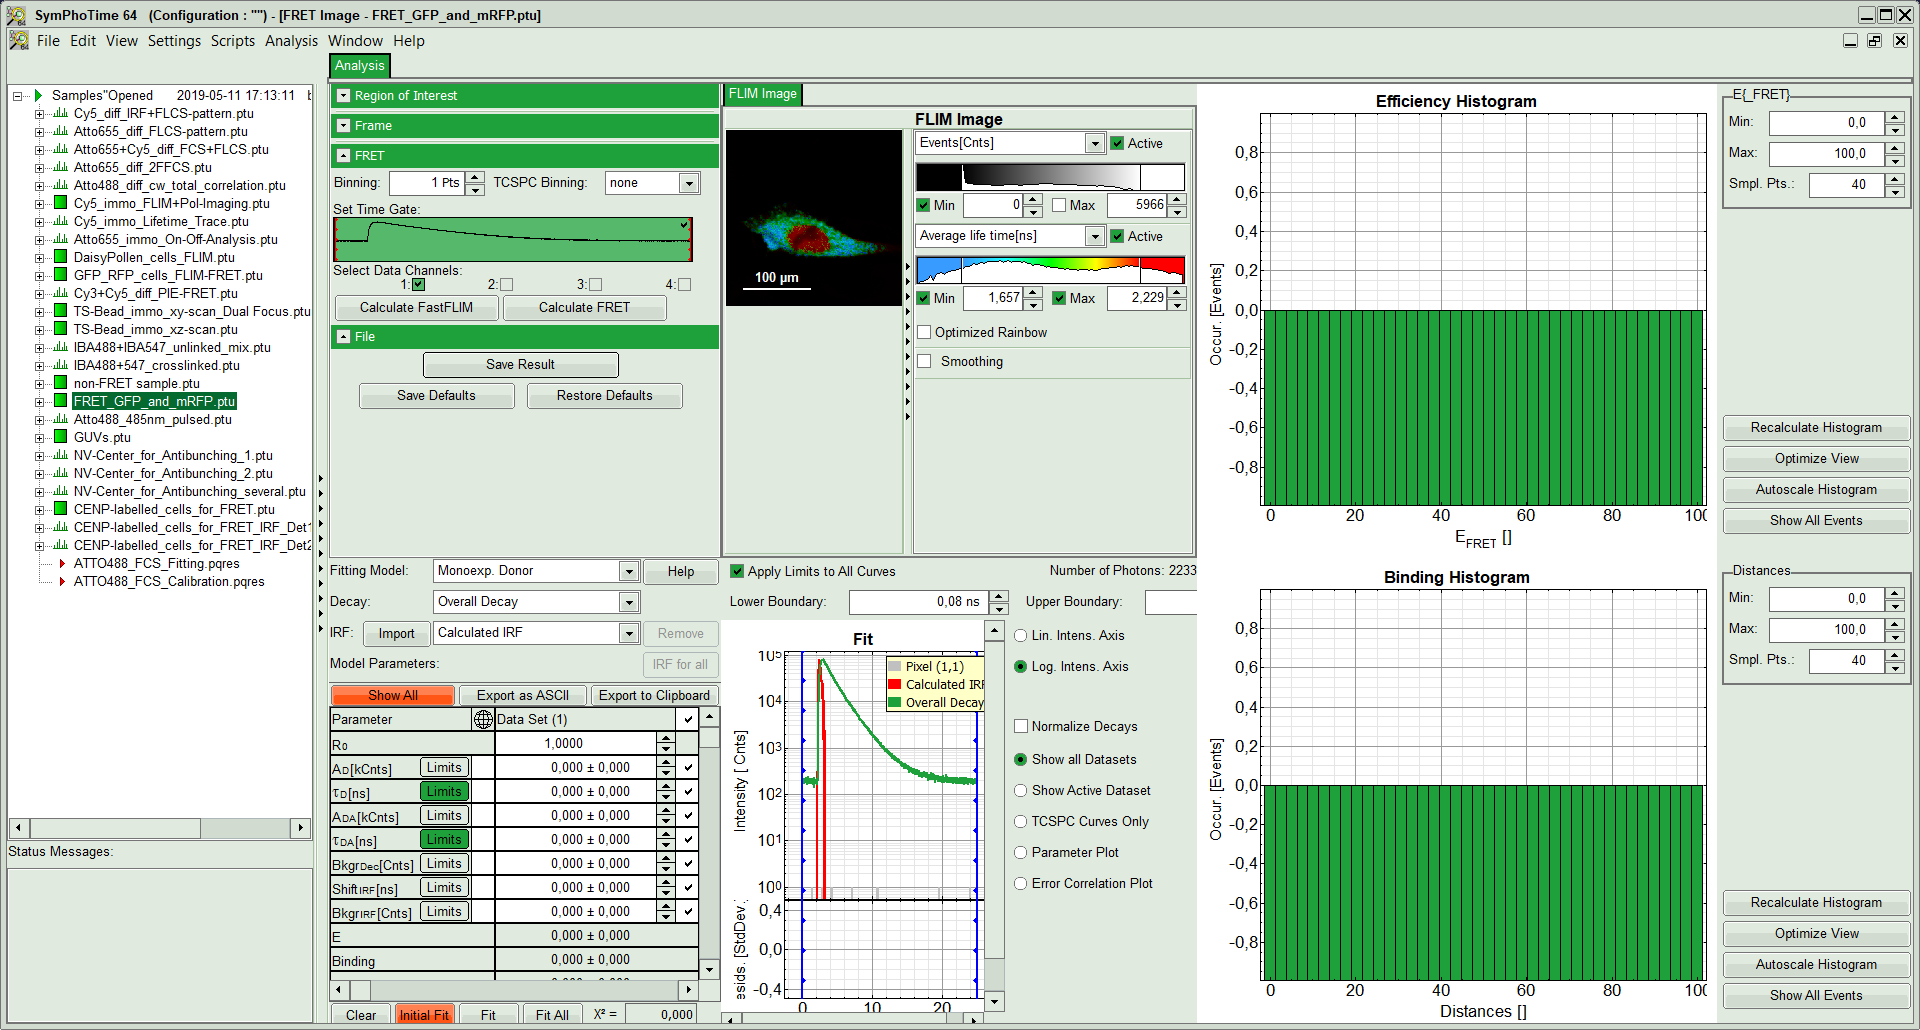
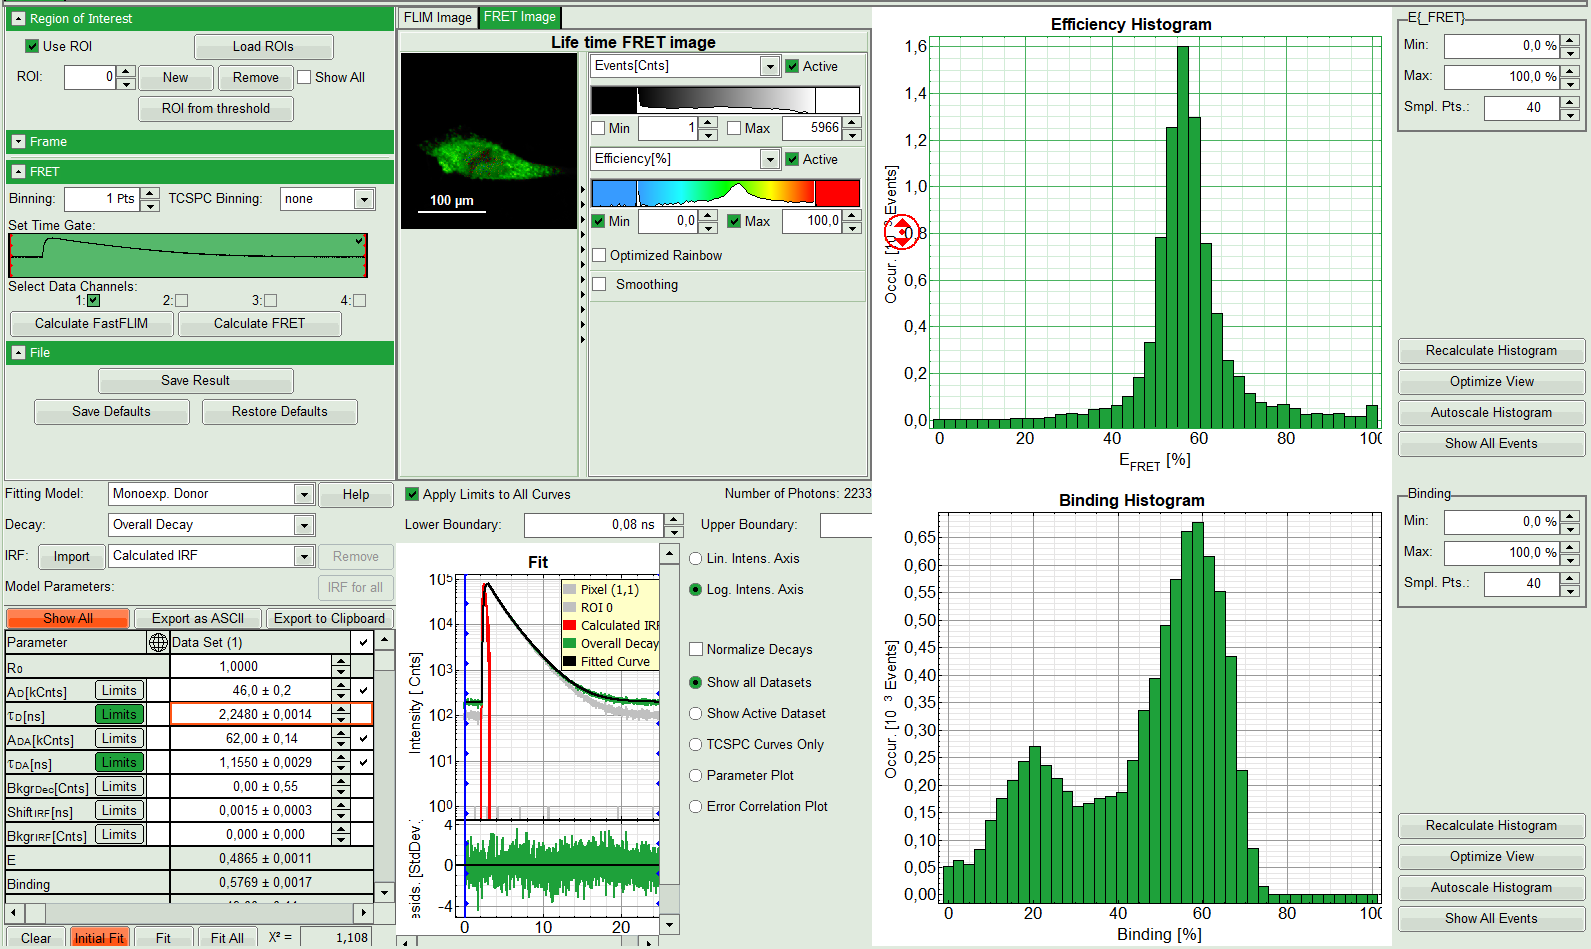
The window contains five different regions:
- Upper left: Imaging analysis options.
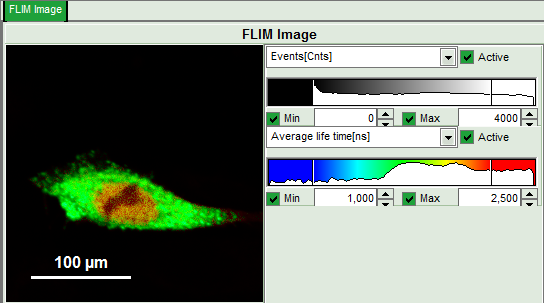
- Upper center: Fast FLIM image, displayed in false color scale. The brightness encodes the intensity while the color encodes the average “Fast FLIM” lifetime, i.e. the mean arrival time of the photons after the laser pulse. When not defined otherwise, intensity and color scale stretch from minimum to maximum. As the mean arrival time of the background photons in the areas where no fluorescence is detected, is randomly spread over the TCSPC window, the mean photon arrival time of the dark background is usually very long (up to 1/2 of the TCSPC window), which makes the color scale loaded by default sometimes unsuited for displaying the lifetime contrast in the actual sample. In this case, the scale has to be adapted.
- Upper right: Fluorescence FRET Efficiency Histogram. As the FRET efficiency image has not been calculated, this plot is still empty. Later, the settings of the plot can be adapted using the controls on the right of the plot.
- Lower left: Binding histogram. As the FRET efficiency image has not been calculated yet, this histogram is still empty. This diagram can only be calculated if the FRET donor dye has single exponential decay kinetics.
- Lower center/left: TCSPC histogram of all photons in the image. In green (= dataset 0) and the TCSPC histogram of a single pixel in grey (= dataset 1). In red an estimation of the instrument response function (=IRF) is shown. The IRF reconstruction is deducted from the rising edge of the TCSPC histogram. On the left of this graph, the fitting model and parameter controls are displayed.
- Set the intensity scale from 0 – 4000 counts and the lifetime scale from 1 – 2.5 ns.
- On top left, under Region of Interest, check “Use ROI” box and click on “ROI from Threshold”.
Response:
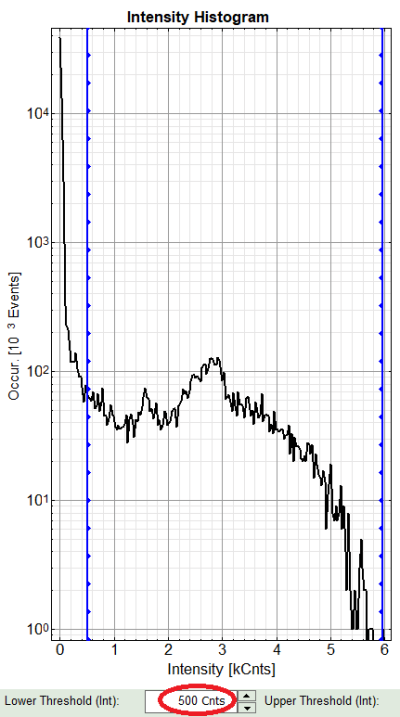
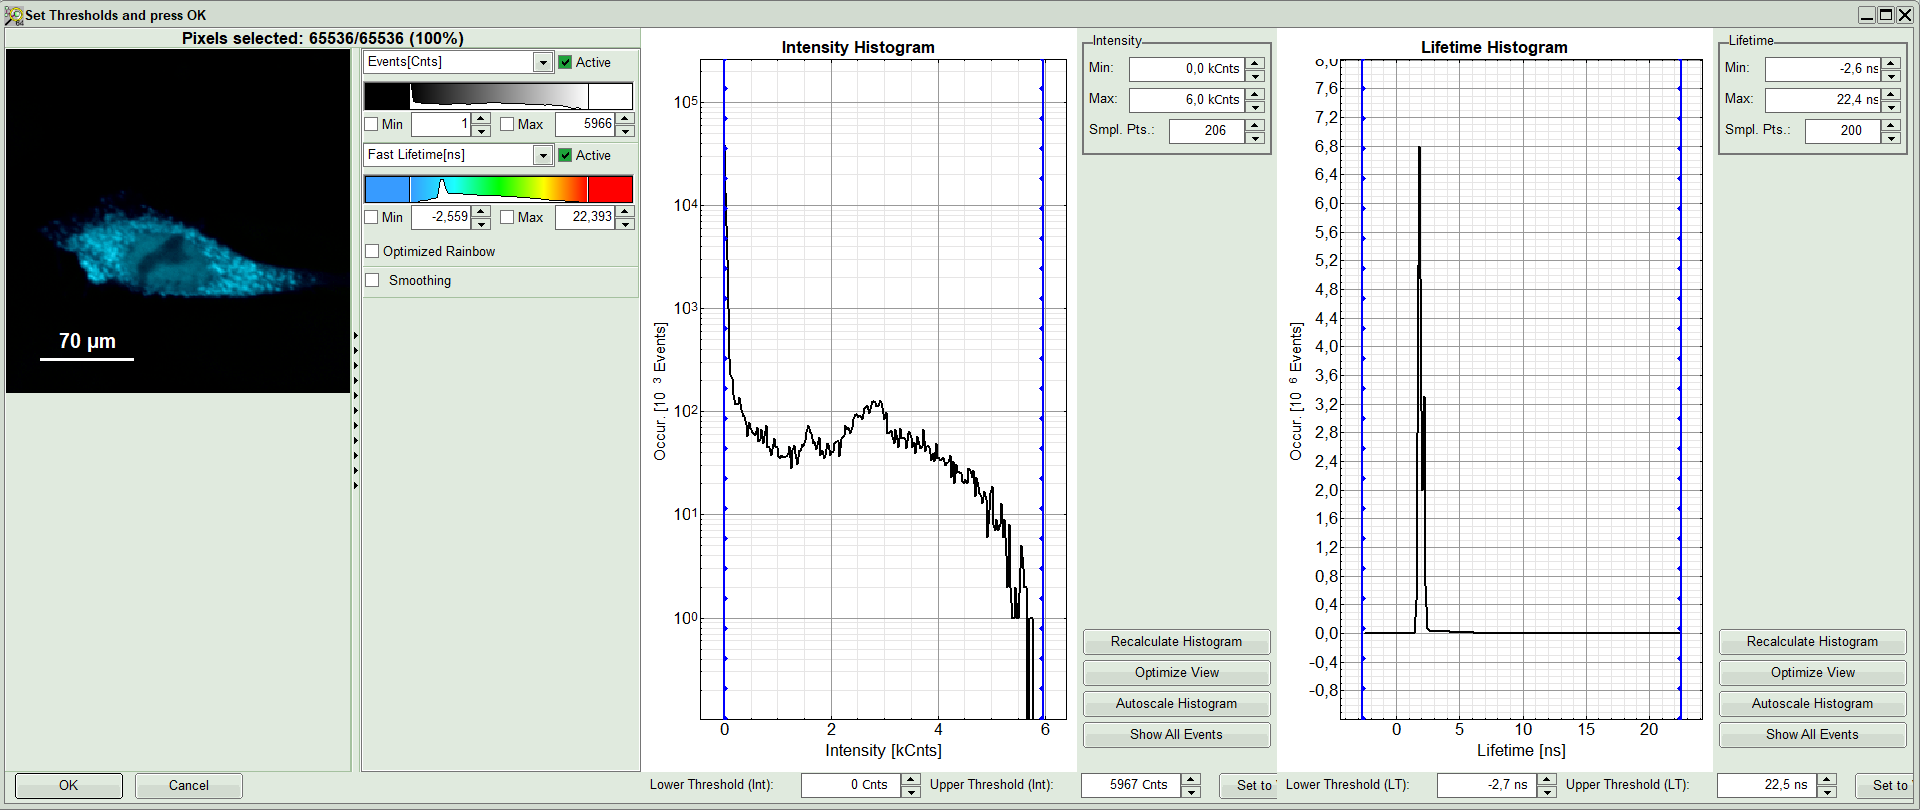
A large window with three sections will appear, where you can set a threshold for an image analysis visually.
Note:
Left to right: Preview FLIM Image, Intensity Histogram and Lifetime Histogram. For any ROI you can set each of these parameters individually.
There are two ways to define the new threshold. You can use the edit-box at the lower side to type the threshold and press enter to check the result or use cursor keys or mouse wheel to increase/decrease the value. Another option is using the blue vertical bars on the sides of the intensity or lifetime histograms; click and drag the bars to set the threshold.
- In this example set the lower intensity threshold to 500 counts.
- Click “OK”
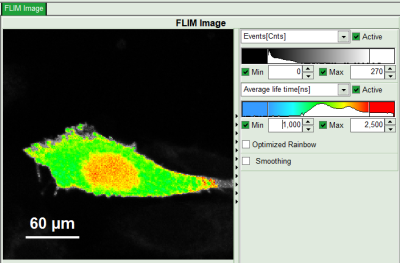
Response: In the image, only pixels with higher photon counts are highlighted. Adapt the intensity maximum to see the highlighted pixels more clearly.
- In the lifetime fitting panel, keep the default Fitting model “Mono-Exp. Donor”.
- Choose the corresponding ROI as Decay (in this case “ROI 0”).
- Click “Initial Fit” below the fitting parameter.
Response: The fit is performed to the ROI decay.
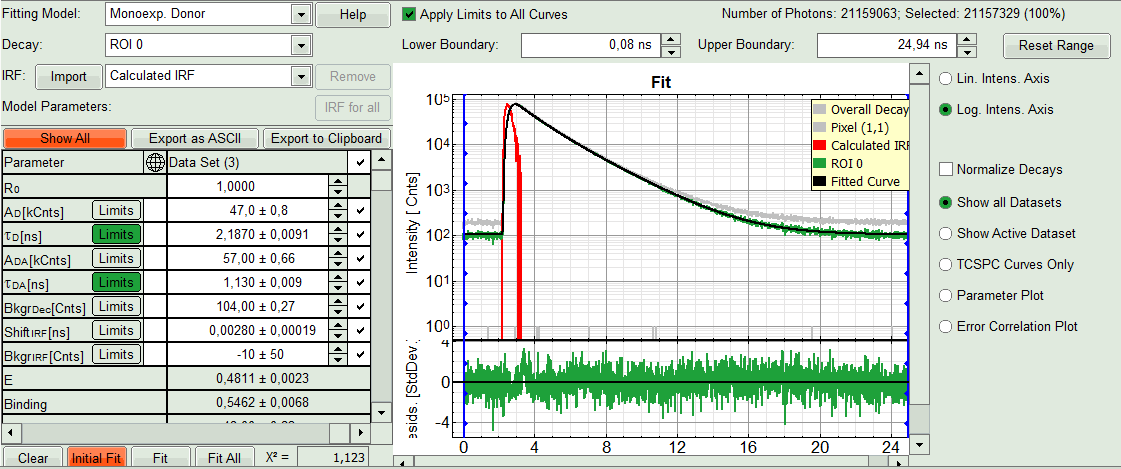
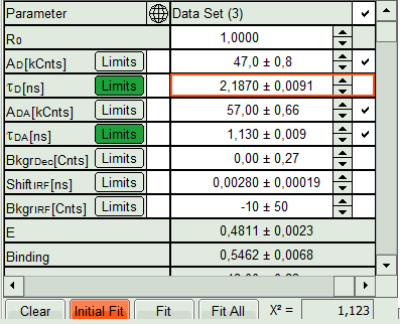
- In the Fitting panel, set the parameters τD, BkgrDec, Shift IRF and Bkgr IRF constant by removing the mark. Set the background of the decay to 0.
Note: In order to reduce statistical fluctuations, as many parameters as possible need to be set constant.
In this model, it is assumed that the long lifetime is caused by unbound donor molecules, and therefore this lifetime is labeled τD and is considered constant, in contrast to the FRET-efficiency, which can vary in different regions, unless you know from the biological setup that it will mainly be the same in all e.g. complexes. In a single pixel, the background counts of the pixel are negligible, therefore it is valid to set this to 0 in this case. Don't press “Initial Fit again”.
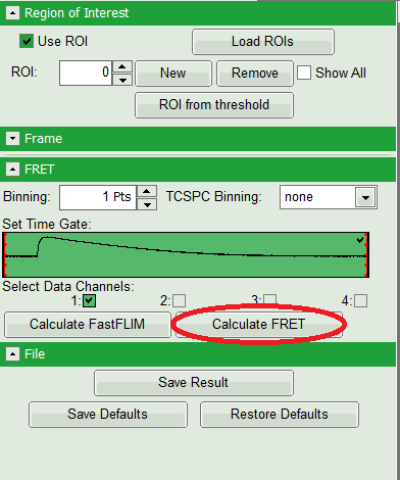
- Press “Calculate FRET” in the upper panel on the left.
Note: Depending on the screen resolution, one may have to use the scroll bar to access this button.
Response:
- A double exponential fit with the chosen start parameters is calculated for each selected pixel, in which the longer time is kept constant and is considered as the donor lifetime in absence of FRET (τD), while the shorter lifetime (τDA) is varied. This lifetime is considered to be the donor lifetime with a FRET acceptor present. The FRET efficiency is calculated from this parameter.
- From the results, a “FRET Image” is calculated and plotted in the FLIM image area. The FLIM image is hidden behind in another tab.
- On the right, the FRET efficiency histogram is plotted from the pixel values.
- This graph shows a single peak, which is in contrast to the lifetime variations in the FLIM image. The explanation can be found in the Binding histogram below showing two distinct peaks.
- On the lower right, the Binding histogram is plotted. The Binding histogram plots the amplitude fraction of the donor lifetime in presence of FRET. As the amplitude of a donor dye is not changed by its proximity to a FRET acceptor, the binding ratio has a direct effect on the average lifetime.
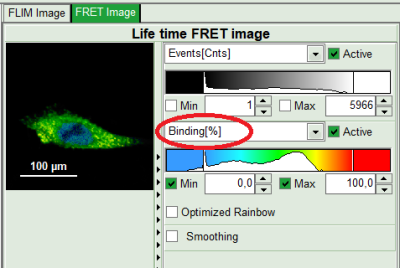
- To plot an image of the binding, simply change the parameter in the color scale to “Binding %”. It is obvious that the population in the nucleus undergoing FRET is very low.
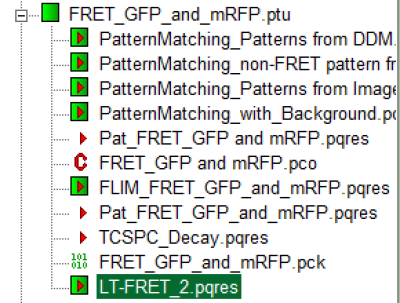
- Press “Save Result” to save the current analysis.
Response: A result file is generated and linked to the raw data file.
- The image analysis is now finished. There are several possibilities to continue:
- To adapt the histogram plots, change the plot parameters on the right of the histogram to the desired values and click “Recalculate”. If these plots should be saved, click “Save Results” again.
- To export certain analyses, place the mouse cursor over the area of interest, activate the context menu with a right mouse click and choose the export function of interest to export the data.
- In corder to analyze many images with the same FRET pair, it si possible to save the starting values for the fits by clicking on “Save Defaults” and store them as a User Profile by entering the main menu (“Settings\Save User Profile as”). The software will need to restart to adapt the changes.
