Calibrate the Confocal Volume for and with FCS
Summary
This tutorial shows step-by-step, how to calibrate the confocal volume for FCS measurements with a calibration dye. Therefore, a FCS curve is calculated with the FCS script, that is transferred to the FCS Calibration script.
Background Information
Note: Calibration is a necessary task for FCS measurements. In a calibration procedure, the confocal volume VEff as well as the structural parameter κ (the ratio of z to xy extension) is determined using a reference dye. This is the prerequisite to determine correct diffusion coefficients and concentrations for the sample of interest.
ATTO488 (ATTO-Tec, Germany) is a suited dye to calibrate the confocal microscope at ~470 – 490 nm excitation and detection around 500 – 540 nm.
The diffusion coefficient of ATTO488 carboxilic acid has been measured to be 400 µm²/s at 25°C. Published diffusion coefficients of various fluorophores are summarized in the Technical Note “Absolute Diffusion Coefficients: Compilation of Reference Data for FCS Calibration” available from PicoQuant (see https://www.picoquant.com/images/uploads/page/files/7353/appnote_diffusioncoefficients.pdf). This list is extensive, but does not claim to be complete.
Note that the diffusion coefficients of all dyes are temperature dependent.
FCS measurements are usually point measurements acquired with very sensitive detectors (SPAD or Hybrid PMT detectors).
FCS is a technique applicable over a wide range of concentrations, but ideal FCS concentrations are usually between 1 and 20 nM.
Step-by-Step Tutorial
Select a file and generate a reference FCS curve
- Start SymPhoTime 64 software.
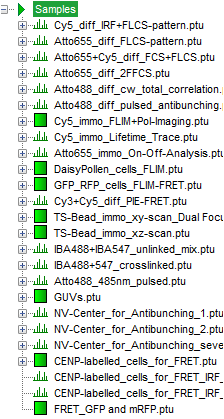
- Open the “Samples” workspace via “File\open Workspace” from the main menu.
Note: The “Samples” workspace is delivered with the SymPhoTime 64 and on the DVD-ROM and contains example data to show the function of the SymPhoTime 64 data analysis. If you haven't installed it on your computer, copy it from the DVD onto a local drive before going through this tutorial.
Response: The files of the sample workspace are displayed in the workspace panel on the left side of the main window.
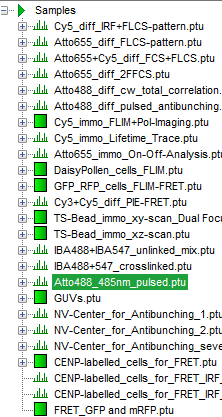
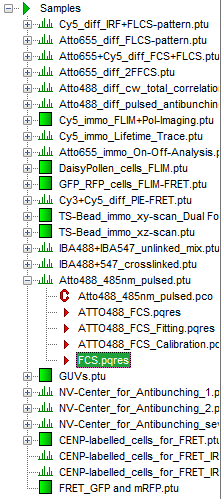
- Highlight the file
ATTO4888_485nm_pulsed.ptuby a single mouse click.
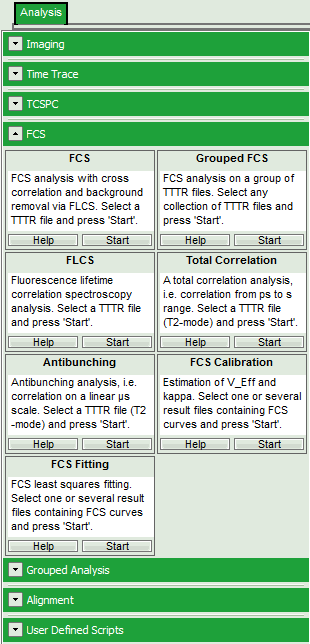
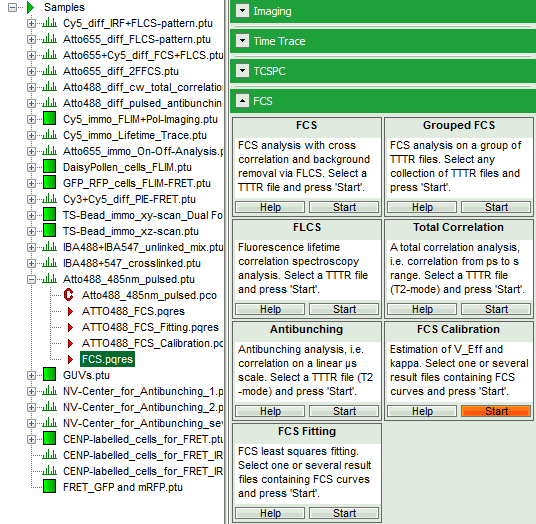
- Select the “Analysis” tab and in there, open the drop down menu “FCS”.
Note: The drop down menu can be opened and closed by clicking on the grey button on the left side of the header of the drop down menu: 
- Start the FCS script by clicking on “Start”.
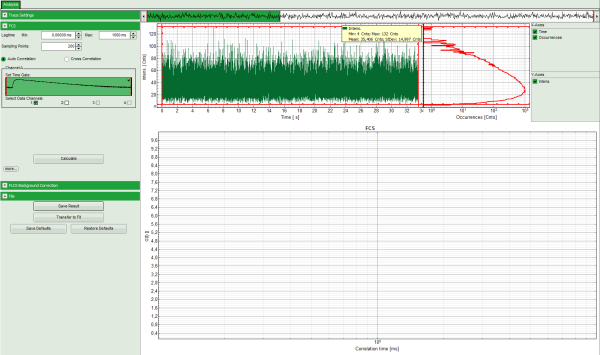
Response: The FCS script is applied to the file ATTO488_485nm_pulsed.ptu. Thereby, a new window opens:
Note: The window contains three different regions:
- Left: Analysis and display options. For explanation of the different parameters, place the mouse cursor over this part of the window and press <F1> to open the corresponding help page.
- Upper center/right: Intensity time trace. The display can be changed using the “Trace Settings” of the analysis options. The large window shows the inset of the complete trace above highlighted in green. The photon counting histogram on the right displays the frequencies of the different intensity values. Usually, this trace is used to check, whether the signal is stable during the measurement, which is a prerequisite for FCS. Also, large intensity spikes stemming from aggregation of the fluorescent sample can be identified in this graph. In measurements inside cells, often a slight decrease at the beginning ot the trace is noticed. In this case, this region can be excluded from calculating the FCS trace by adjusting the upper vertical red limit bars in the small upper trace.
- Lower center/right: FCS trace window. As first the FCS correlation criteria have to be defined and the curve needs to be calculated, this graph does not contain any trace at this stage.
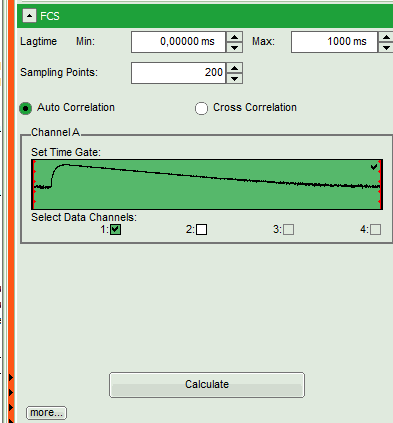
- In this file, all light is recorded with detector 1, therefore keep the FCS options as shown.
- Open the “FLCS Background Correction” drop down panel and check the “Enable” box.
⇓
- This button calculates simple FLCS filter on the data: the fluorescence decay versus the background in the TCPSC window. As the detector afterpulsing is not correlated with the laser pulse on the time range of interest, photons caused by detector afterpulsing behave similar as background photons.
- Click on “Calculate” to calculate the FCS trace.
Response: The FCS curve is calculated.
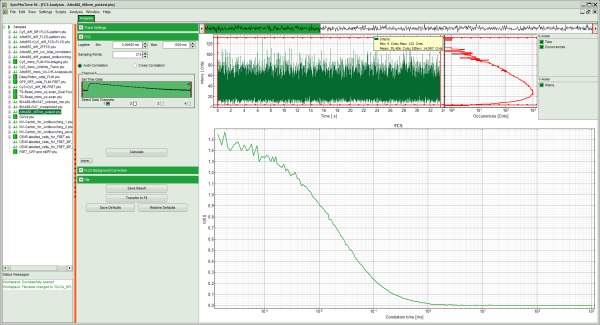
- Save the calculated curve by clicking on “Save Result”.
Response: A result file is generated and linked to the raw data file.
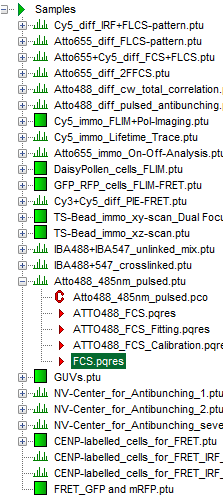
Use the generated FCS file for calibration of the confocal volume
- Highlight the newly generated FCS result file.
- Open the FCS pull down menu and start the “FCS Calibration” script.
Response: The FCS Calibration window pops up.
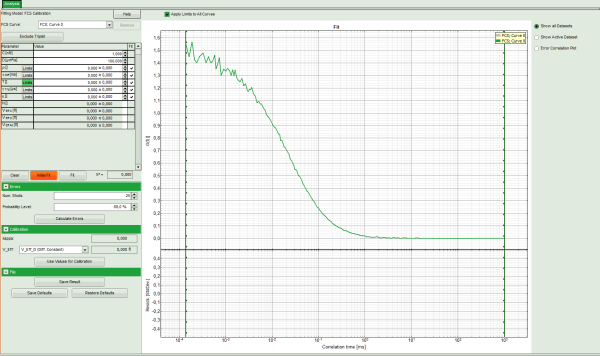
Note: This window consists of different sections:
Left: Fitting panel with the parameter options.
Center/right: FCS curve. Below the graph, the residuals are plotted. As no fit ist performed yet, this area is still empty.
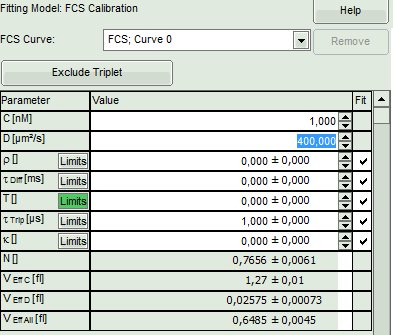
- In the parameter panel, enter “400” as diffusion coefficient “D [µm²/s]”.
Note: For calibration two values can be used:
The diffusion coefficient is usually used as parameter. Therefore it must be known in advance.
If no suited diffusion coefficient is known, e.g. because the measurement is performed in a solvent or at a temperature where no calibration values are reported, the concentration can be used instead. Note: when working at very low concentrations in the range of 1 – 20 nM as needed for these kinds of measurements, surface adsorption of the dye at the pipette tips and similar effects may affect the actual concentrations. It is thus recommended to analyze several concentrations and compare if always the same confocal volume is obtained.
In this case, the diffusion coefficient is known from the litearture.
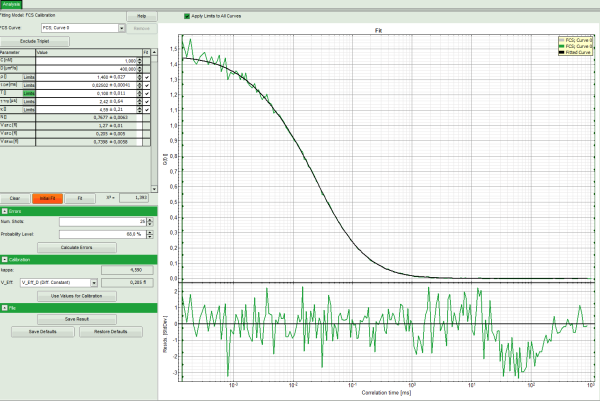
- Click on “Initial Fit”.
Response:
- The curve is fitted and plotted in the main window.
- The residuals (= difference between fitted curve and raw data) are plotted below the curve.
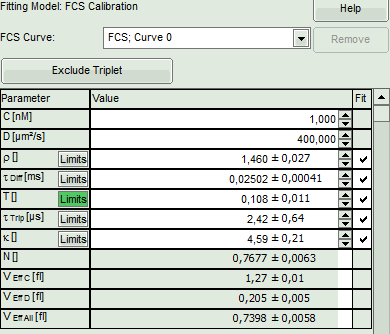
- The fitting parameters are displayed in the parameter panel:
- In the grey panel, three effective volumes are calculated:
- VEff C (here = 1.27 fl): This would be the value of choise if the concentration was known. As it is not the case for this example, the value is meaningless.
- VEff D (here = 0.2 fl): This value is used for calibration.
- VEff All (here = 0.74 fl): This is the average calculate from the other values. This value could be used, if concentration and diffusion coefficient were both known. As this is not the case in this example, this value is meaningless.
- The important parameters in this fit are VEff(= 0.2 fl) and kappa (=κ , 4.59). Both values are reasonable.
Note: By default, V_Eff_D calculated from the diffusion constant is chosen as calibration value. If the reference were the concentration, the assignment can be changed in the “Calibration” drop down menu (see image above).
- Click “Use values for Calibration” to store these data as calibration values in the internal memory. Whenever a new FCS curve is fitted, these calibration values will be automatically used.
Response: A window pops up asking to confirm the calibration values.
- Click OK to store these values in the SymPhoTime 64 memory.
- Save the fit by clicking “Save Results”.
Response: A result file is generated and linked to the raw data. The fitting window can now be closed.
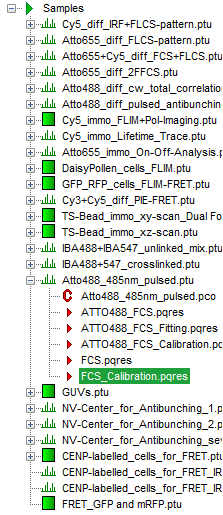
- Close the calibration window.
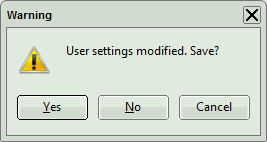
- To permanently apply the changes, the changes in the user profile need to be confirmed whenclosing the software. A message will pop up when closing SymPhoTime 64:
- Click on “Yes” to store the data, click on “No” if you want to keep the old user profile.
