SymPhoTime Lifetime Fitting
Summary
This tutorial shows step-by-step, how to fit a selected model to a decay curve in order to get the lifetime of a measured sample. As an example, a single exponential reconvolution fit is used to determine the lifetime of ATTO655 diluted in water.
Step-by-Step Tutorial
Select a file and start the script
- Start SymPhoTime 64 software.
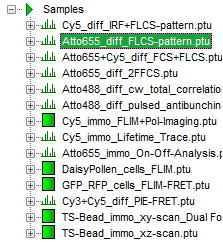
- Open the “Samples” workspace via “File\open Workspace” from the main menu.
Note: The “Samples” workspace is delivered with the SymPhoTime 64 and on the CD-ROM and contains example data to show the function of the SymPhoTime data analysis. If you haven't installed it on your computer, copy it from the DVD onto a local drive before going through this tutorial.
Response: The files of the sample workspace are displayed in the workspace panel on the left side of the main window.
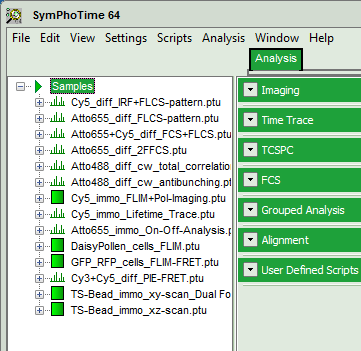
- Highlight the file
ATTO655_diff_FLCS-pattern.ptuby a single mouse click.
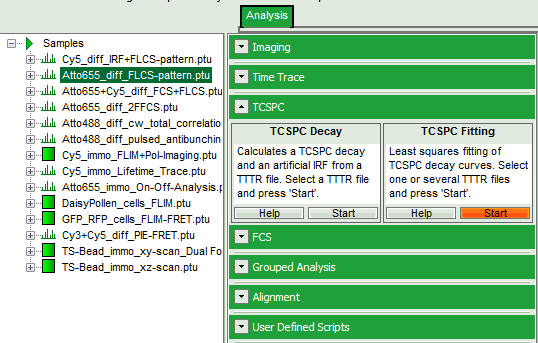
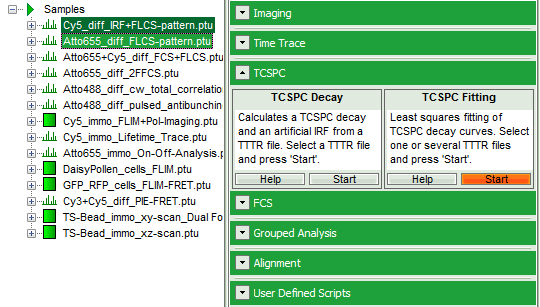
- Select the “Analysis” tab and in there, open the drop down menu “TCSPC”.
Note: The drop down menu can be opened and closed by clicking on the grey button on the left side of the header of the drop down menu: 
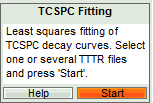
- Start the “TCSPC Fitting” script by clicking on “Start”.
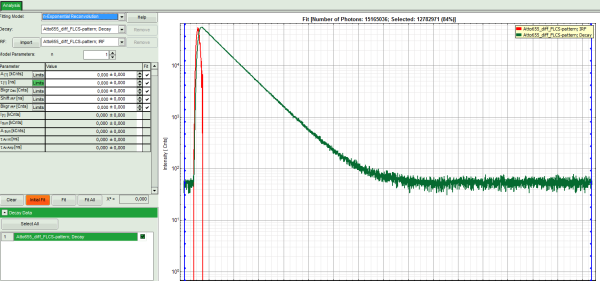
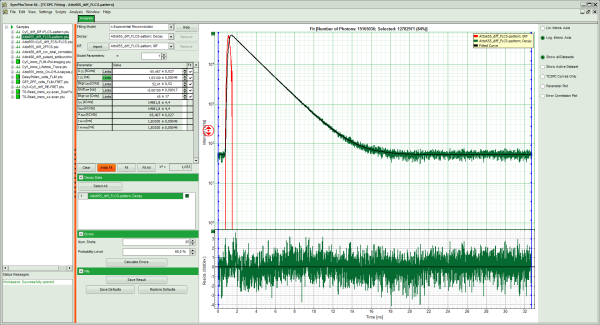
Response: The TCSPC Fitting script is applied to the file ATTO655_diff_FLCS-pattern.ptu. Thereby, a new Window opens:
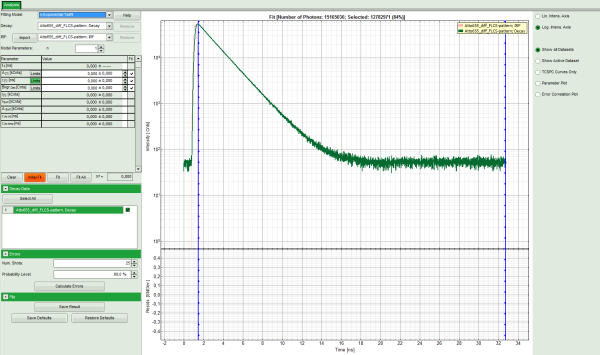
Note: The window contains two different regions:
- Left: Fitting and analysis options.
- Center/right: TCPSC fitting graph showing the TCSPC histogram of the measured sample.
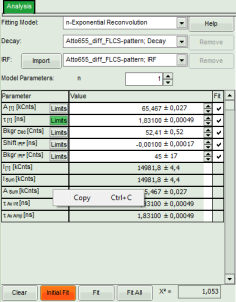
- In the decay form on the left, select n-exponential reconvolution as fitting model.
Response:
- In the TCSPC window, the IRF is displayed in bright red and the data fitting limits are moved to the border of the TCSPC window.
- The new fitting parameters “Shift IRF” and “Bkgr IRF” (=background IRF) appear in the fitting parameter table.
Note: The software offers the possibility to use a n-exponential tailfit or a n-exponential reconvolution model fit. A tailfit can be used when the expected lifetimes are significantly longer than the FWHM of instrument response function. Still a reconvolution fit is usually preferable, because the complete decay, including its rising edge is analyzed, while for a tailfit, the start of the fitting range is usually a bit arbitrary.
For explanation about the fitting model and the used equations, click on the “Help” button next to the selected model. This opens a help window containing the fitted model l equation and the explanation of the different parameters.
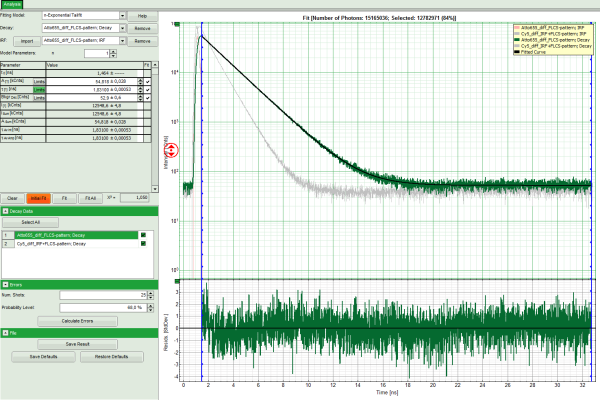
- Click: “Initial Fit” (marked in orange).
Response:
- In the TCSPC window, the fit is displayed as a black line. Below, the residuals (= raw data fit values) are displayed.
- Fit values appear in the fitting table.
Note:
Usually, a decent fit is characterized by the following criteria:
The fitted curve overlays well with the decay curve. In the residual window, the values spread randomly around 0.
The χ²-value approaches 1.
The calculated fitting values are reasonable.
Usually the fitting model using the smallest amount of adjustable parameters is selected.
⇒ In this example, the fit is already sufficient.
- Store the result file by selecting: “Save Results”.
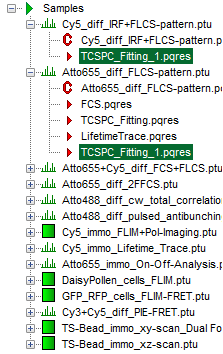
Response: A result file (TCSPC_Fitting.pqres) is stored under the raw data file (ATTO655_diff_FLCS-pattern.ptu).
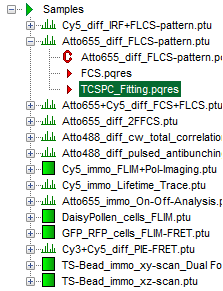
- Later, clicking on the result file reopens the file in the same way as it was stored.
- Now all necessary steps are done. There are several possibilities how to continue:
Export the Fitting Values
- To transfer the fitting data into another program, place your mouse cursor over the fitting table into a grey region, use a right mouse click to open the context menu and select “Copy” or simple use “<CRTL>” + “C” to copy the fitting table into the clipboard.
- Open Notepad or Excel or any other program you want to copy the data into, and past the data there using “<CRTL>” + “V”.
⇓
Export the Complete Decay
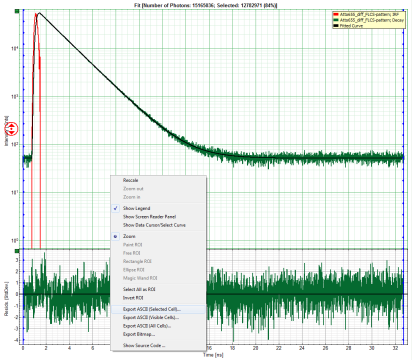
- If the complete decay should be exported to plot the graph in another program, place the cursor over the decay graph, use the right mouse click to open the context menu and select one of the ASCII export options, in this case “selected cell”.
Response: A window opens and asks for a file name to store the exported result file. Select e.g. the name decay.dat.
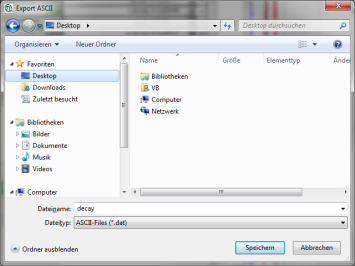
Note: The .dat file contains the TCSPC curve, the estimated instrument response function (IRF) and the fitted curve.
Process Several Files and Calculate Averages
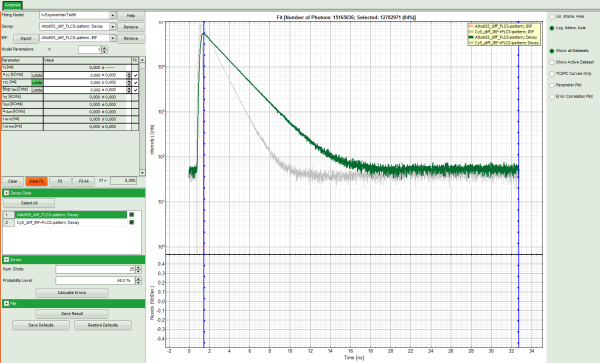
- If several raw data files are marked in the workspace and the TCSPC fitting script is then applied, the decays of all loaded files are displayed in the script. For illustration, mark the two files
Cy5_diff_IRF+FLCS-pattern.ptuandATTO655_diff_FLCS-pattern.ptuwith one mouse click each and start the TCSPC fitting script.
Response: The TCSPC fitting window is opened and the TCSPC histograms of both files are loaded. The TCSPC histogram from the file “ATTO655_diff_FLCS-pattern.ptu is marked in green, indicating that it is the active file. Under decay data all files are listed, the active file is always highlighted in green.
Note: The file Cy5_diff_IRF+FLCS-pattern.ptu contains a lifetime measurement of the dye Cy5 in water. In the TCSPC histogram it can be clearly seen that the lifetime of this dye is significantly shorter than the lifetime of ATTO655.
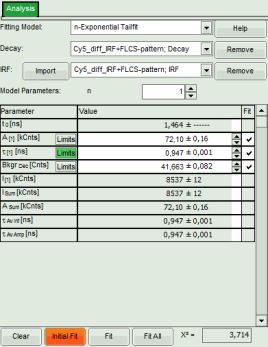
- Click on “Initial Fit” to perform a monoexponential tailfit of the ATTO655 dataset.
- If both dyes can be fitted with the same model, click “Fit All”.
Response: Both data sets are fitted with a single exponential tailfit model. The values of the last dataset are displayed in the fitting table.
- To toggle between the fitted values of the different data sets and check the fits, click onto the different datasets to activate them.
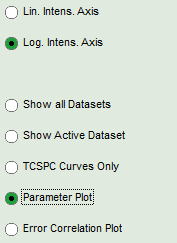
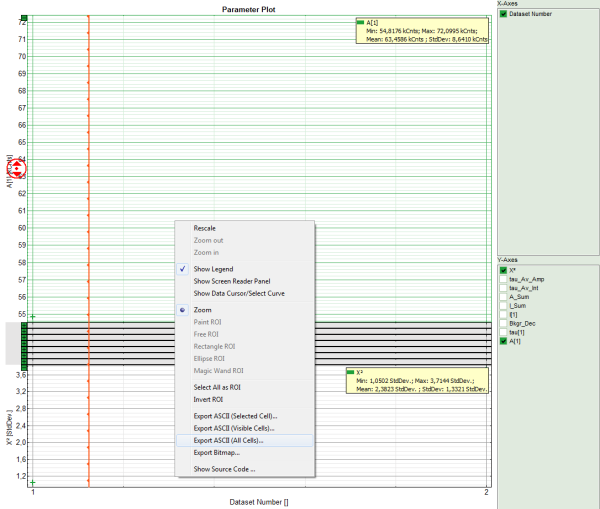
- To export all fitting values for all fits, activate the “Paramater Plot”.
Response: The parameter plot is shown. The parameters to be displayed are plotted as points in a graph, with the first point on the left belonging to the first data set, etc.
Note: The parameter plot is in this case not very illuminating, as only 2 datasets are present. It's full potential can be generated, if the same dye is measured several times, because in this case it graphically shows the deviation of the fitting values. It also calculates an average for each fitting value over the data sets. In our example, it is of course meaningless, as two different dyes were fitted.
- Place the mouse over the graph, activate the context menu with a right mouse click and select the “Export ASCII (All cells)” option. This allows to store the fitting values of all fitted data sets at once e.g. to load them into Excel or a similar program for further processing.
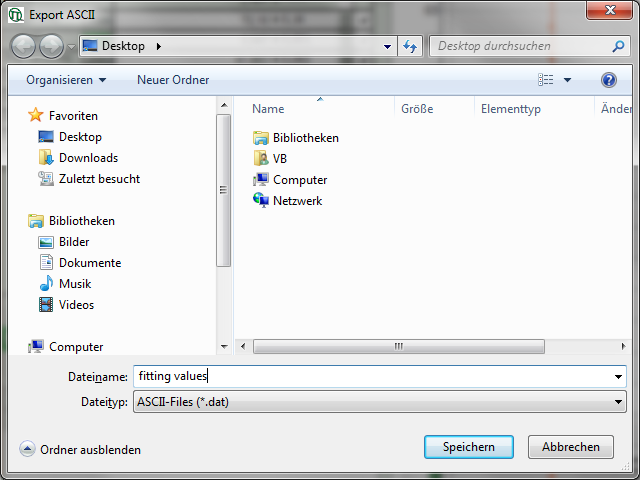
Response: A window opens and asks for a file name and a folder to store the data, e.g. as fitting values.dat.
- Store the file. You can open the data e.g. with the notepad function of the PC to have a look at the data structure. Every data set is stored as a line and the fitting values are arranged as columns. The order of the data sets corresponds to the order of the data sets in the SymPhoTime table.
- Don't forget to save the data in SymPhoTime by clicking on “Save results”. This generates an analysis result file (
.pqres), which in this case is storedalong with both corresponding raw data files (.ptu).
